
| Tweet |

Custom Search
|
|

|
||
 TM 9-2815-220-24
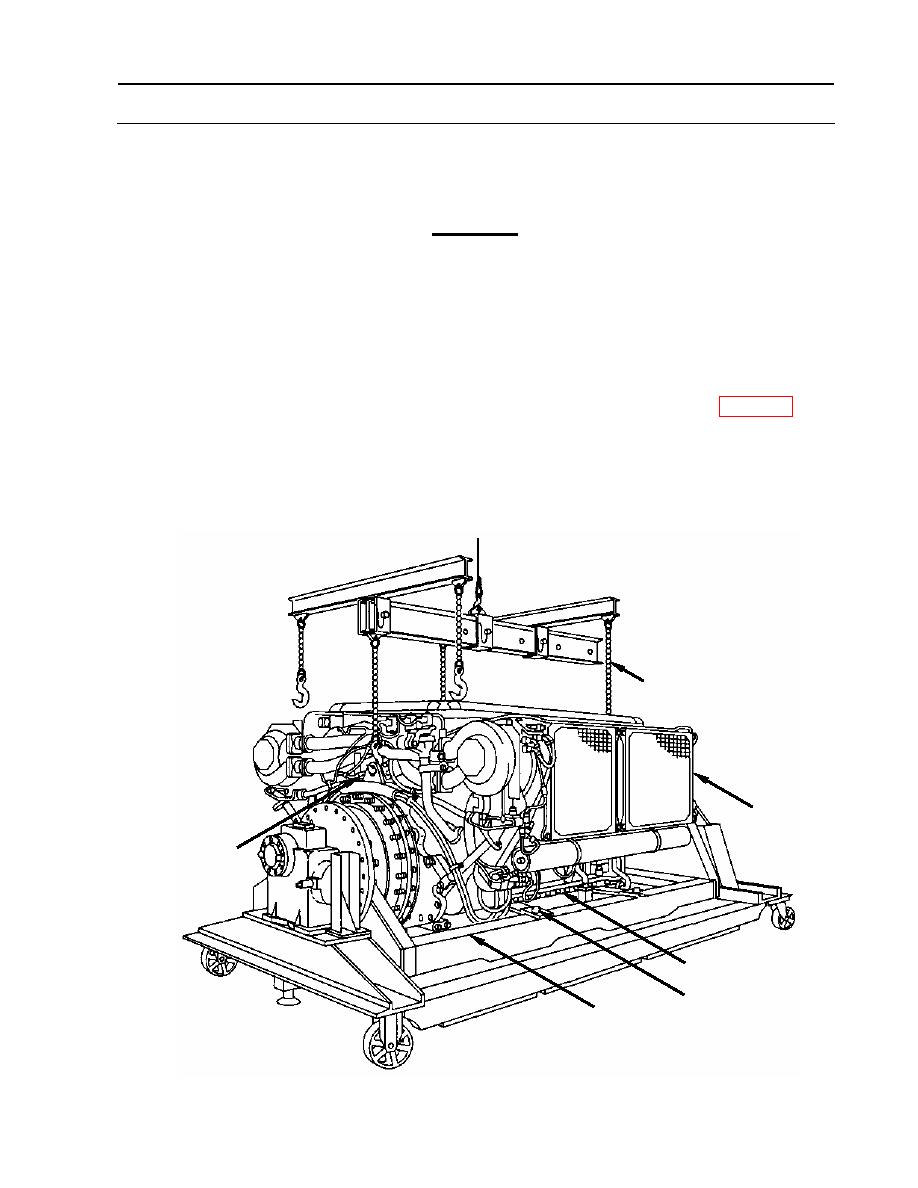
OIL PAN ASSEMBLY REPLACE/REPAIR
0152 00
REMOVAL (Continued)
1. Remove oil pan (1). (Continued)
CAUTION
Leave one nut and washer installed on each side of the oil pan, near
the center, to prevent oil pan from falling and being damaged.
c. Remove 27 of 28 self-locking nuts (8) with flat washers (9) from each side of oil pan (1).
Discard self-locking nuts.
d. Attach sling assembly (10) (for 2CA, DA use item 38, for 2DR use item 37, WP 0176) to
engine (11) lifting eyes (12) and to a suitable lifting device.
e. Take slack out of lifting device and remove four screws (13) with flat washers (14)
securing engine to maintenance stand (15).
10
11
12
8,9
13,14
15
WP 0152 00-3
|
||
|
||


