| Tweet |

Custom Search
|
|

|
||
 TM 9-2815-226-34-1
NOTE
A rod and its cap are a matched set. Must be replaced as an assembly.
(6) If diameter exceeds 0.6249 in. (15.872 mm) in rod or 0.6252 in. (15.880 mm) in cap, discard rod and cap.
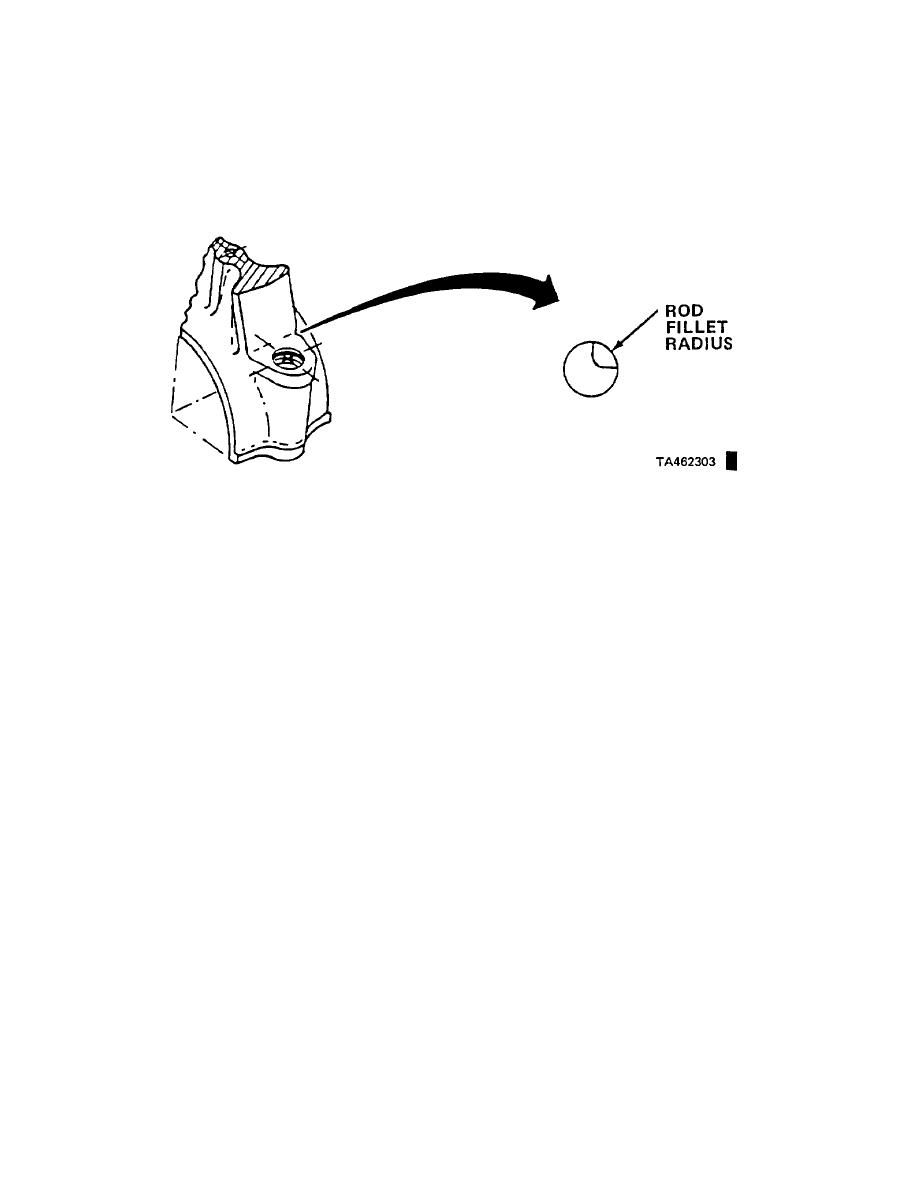
(7) Check bolt pad radius for dents or nicks. If defects found, mark rod for radius repair.
(8) Check radius of fillets. Must be 0.045 to 0.055 in. (1.143 to 1.397 mm). If radius incorrect, mark rod for
radius restoration.
(9) Check rod-to-cap alinement dowels.
(a) Measure dowel outside diameter. Must not be less than 0.3127 in. (7.9425 mm).
(b) Measure hole depth in rod. Must not exceed 0.3133 in. (7.9578 mm) or be less than 0.3128 in.
(7.945 mm).
(c) Measure dowel protrusion from cap. Must not exceed 0.250 in. (6.350 mm) or be less than 0.220 in.
(5.588 mm).
(d) Check that dowel pins are tight.
(e) If above specifications for dowels are not met, discard rod and cap.
m. Measure rod bearings (shells).
(1) With ball micrometer, measure thickness of rod bearings to determine wear.
(2) Discard bearings which are less than 0.093 in. (2.362 mm) thick. If crankshaft reground, bearings are
available in undersizes of 0.010, 0.020, 0.030, and 0.040 in. (0.254, 0.508, 0.762, and 1.016 mm).
Change 1 3-133
|
||
 |
||