ARMY TM 9-2815-252-24
AIR FORCE TO 38G1-92-2
(3)
Install bridge over bolt threads until two legs are against crankcase.
(4)
Install spacer onto bolt.
(5)
Use a suitable wrench to tighten nut until bearing shells are withdrawn.
e.
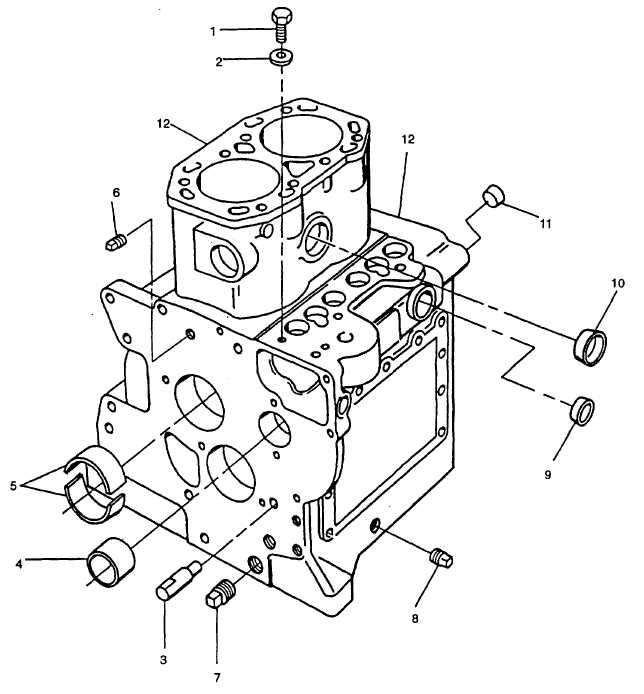
If damaged, remove pipe plugs (6, 7, and 8) and expansion plugs (9, 10, and 11).
FIGURE 3-43. Crankcase Assembly
3-80
|
|