ARMY TM 9-2815-256-24
AIR FORCE TO 38G1-96-2
MARINE CORPS TM 2815-24/5
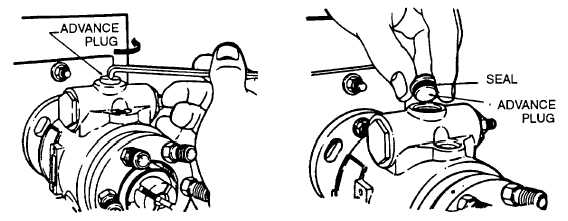
FIGURE 3-78. Removing Advance Screw Hole Plug
af.
Remove piston hole plug (58, FIGURE 3-64), advanced adjustment guide (61), spring (59), piston spring (60),
power piston (68), piston ring (69), and seal from under piston ring (70), refer to FIGURE 3-79.
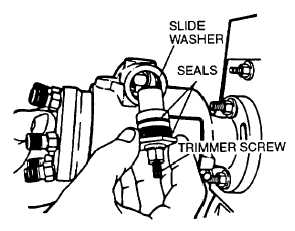
FIGURE 3-79. Removing Spring Side Advance Plug
ag.
Remove two preformed packings (62 and 63, FIGURE 3-64) from piston hole plug (58).
ah.
If necessary, remove set nut (66), piston seal ring (65), and piston spring adjusting screw (64).
ai.
Remove piston hole plug (67), two preformed packings (74 and 75) from piston hole plug (67), reed valve (73)
and two reed valve screws (72).
aj.
Return pump and holding fixture as unit to its initial position in vise with rear of hydraulic head tilted slightly
downward.
ak.
Remove two locking head screws (53, FIGURE 3-64).
al.
Remove hydraulic head assembly (17, FIGURE 3-73) by grasping with both hands and withdrawing it with a
slight rotary motion.
NOTE
When hydraulic head assembly (17, FIGURE 3-73) is inverted, weight (18), sleeve (19), and thrust
washer (20) will fall out.
3-98
|
|