| Tweet |

Custom Search
|
|

|
||
 TM 9-2815-220-24
PISTONS, RINGS, AND ASSOCIATED PARTS REPLACE/REPAIR
0142 00
INSPECTION (Continued)
7. Visually inspect piston rings.
a. Look for scuffing, scoring, chipping, scratches or abrasions. Pay particular attention to
rings that were found to be sticking in the piston ring grooves.
b. Replace any rings that are scuffed, scored, chipped, or abraded.
NOTE
The width of the top piston ring cannot be accurately measured.
When ring is installed in fixture, the end gap is the only measurement
for the top ring.
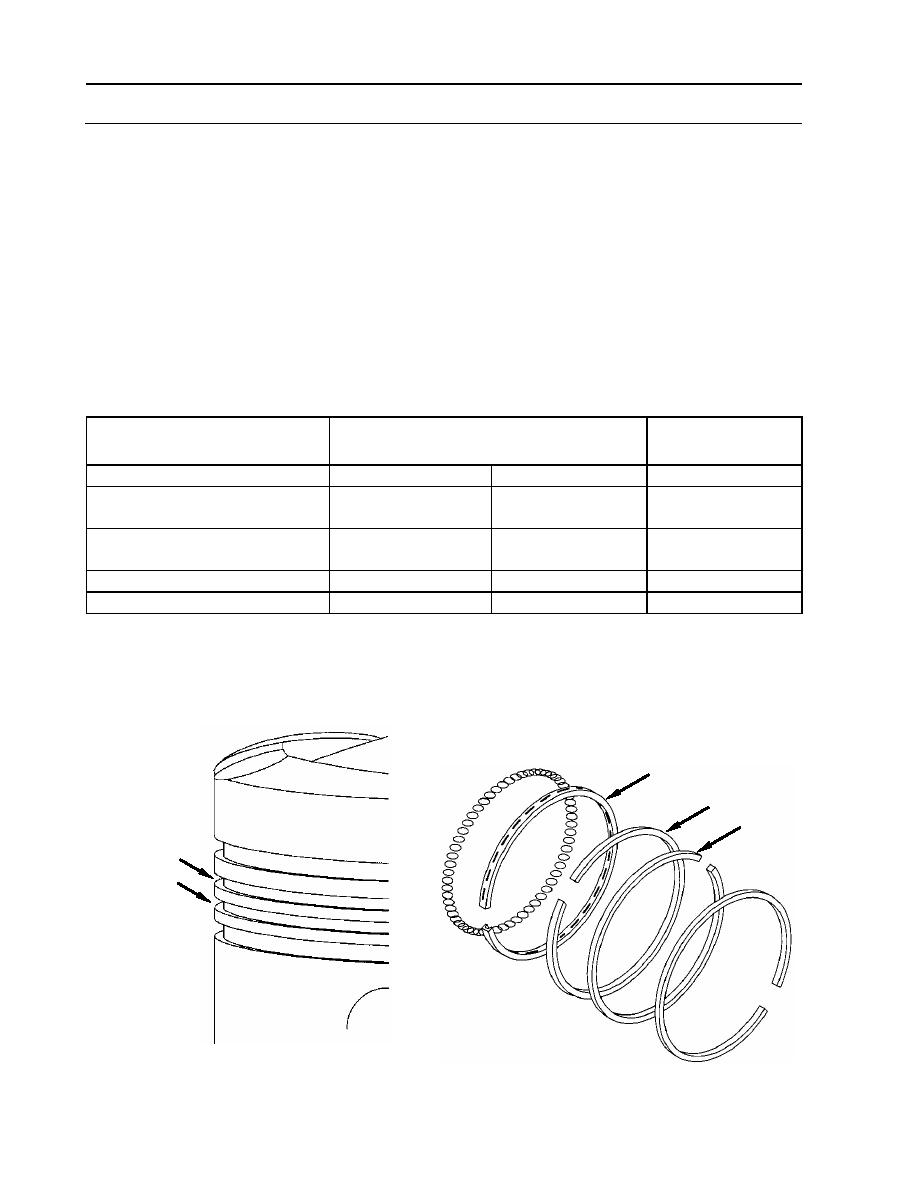
8. Measure the width of intermediate compression rings (2) and oil control ring (3). Replace
rings that do not meet the following limits.
Location
Sizes and Fits of New Parts
Wear Limits
inches (mm)
2 (Compression ring width)
0.0925 (2.3495)
0.0935 (2.3749)
None
2 (Clearance when installed in
0.0055L (0.1397L)
0.0075L (0.1905L) 0.0110 (0.2794)
second (A) ring groove)
2 (Clearance when installed in
0.0045L (0.1143L)
0.0065L (0.1651L) 0.0100 (0.254)
third (B) ring groove)
3 (Oil control ring width)
0.1855 (4.7117)
0.1865 (4.7371)
None
3 (Clearance when installed)
0.0015L (0.0381L)
0.0035L (0.0889L) 0.0055L (0.1397L)
NOTE
Clearances (A and B) will be measured with a thickness gauge at
assembly.
3
2
2
A
B
WP 0142 00-8
|
||
 |
||