TM 9-2815-202-34
(f) "D" Diameter - should be same size as "B" diameter. However, due to a bell mouth flare
caused by honing stone’s vertical travel, a maximum +0.0022 inch diameter flare over “B”
diameter is allowed in lower air box area.
(9) "E" Diameter - Must be within 0.0005 inch classification range as determined by “B”
(h) "F" Diameter - should be same size as"B" diameter. However, due to a bell mouth flare
caused by honing stone’s vertical travel, a maximum +0.0012 inch diameter flare over "B"
diameter is allowed in lower crank area of bore.
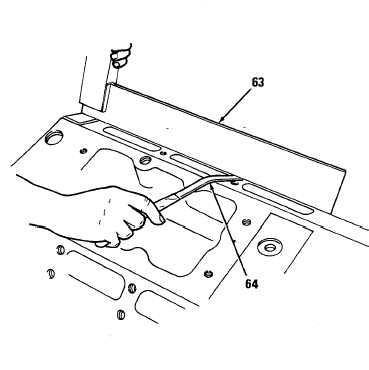
(3) Check cylinder head contact area for
flatness with straight edge (63) and
feeler gage (64). Measurements must
not vary more than 0.003 inch
crosswise and over 0.007 inch
lengthwise.
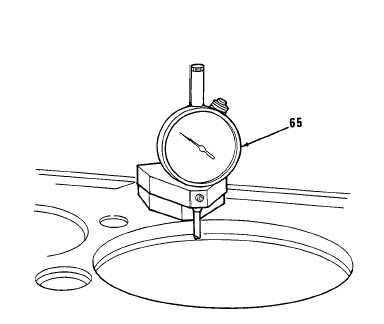
(4) Check cvlinder liner counterbore
. ,
depth by using dial indicator (65).
NOTE
Counterbore depth must be 0.4770
to 0.4795 inch and must not vary
more than 0.0015 inch through
entire circumference. Counterbore
surfaces must be smooth and
square with cylinder bore and within
0.001 inch total indicator reading.
There must not be over 0.001 inch
difference between any two
adjacent cylinder counterbores
when measured along cylinder
lengthwise center line of cylinder
block.
C h a n g e 1 4-169
|
|


